If you are planning a home renovation in Singapore, installing a false ceiling or recessed island covelight is likely at the top of your list. It is the absolute best way to hide messy electrical wiring, conceal aircon ducting, and achieve that sleek, premium hotel vibe. However, a beautiful ceiling requires precise technical planning. Regretting and changing a bad design later is incredibly costly.
Before you sign off on your interior design drawings, here are 5 critical factors you must check to ensure your ceiling is both stunning and legally compliant.
1. Local Ceiling Height Regulations & Clearance

The very first thing you need to check is your starting baseline. In Singapore, structural ceiling heights vary significantly depending on your property type: HDB Flats: Standard structural height is typically around 2.6 meters.
Older Executive Condominiums (ECs): Generally range from 2.7 meters to 2.8 meters while the newer ECs in 2026 have increased their height to 2.85 meters
Condominiums have a higher interior ceiling height range. They range from 2.8 meter to 3.2 meters
In Singapore, the Housing & Development Board (HDB) and Building and Construction Authority (BCA) guidelines state that any installed false ceiling must maintain a minimum clearance height of 2.4 meters measured from the finished floor level.
Given that the standard structural height for most modern HDB and BTO flats is roughly 2.6 meters, this leaves you with a maximum total drop allowance of about 200mm (20cm) if you are doing a full ceiling drop.
Quick Exceptions & Variations to Note:
Older Resale Flats: Some pre-1990s units have an existing structural height closer to 2.4m or 2.5m. In these cases, a full false ceiling isn’t feasible, and an L-box or perimeter design is used instead to keep the center of the room at max height.
Cornices and Window Pelmets: These minor decorative elements have a slightly more relaxed minimum clearance rule and can go down to 2.1 meters from the finished floor level.
Special Units: Top-floor units, Executive Maisonettes, and loft designs often feature much higher slopes or double-volume ceilings, offering significantly more vertical freedom.

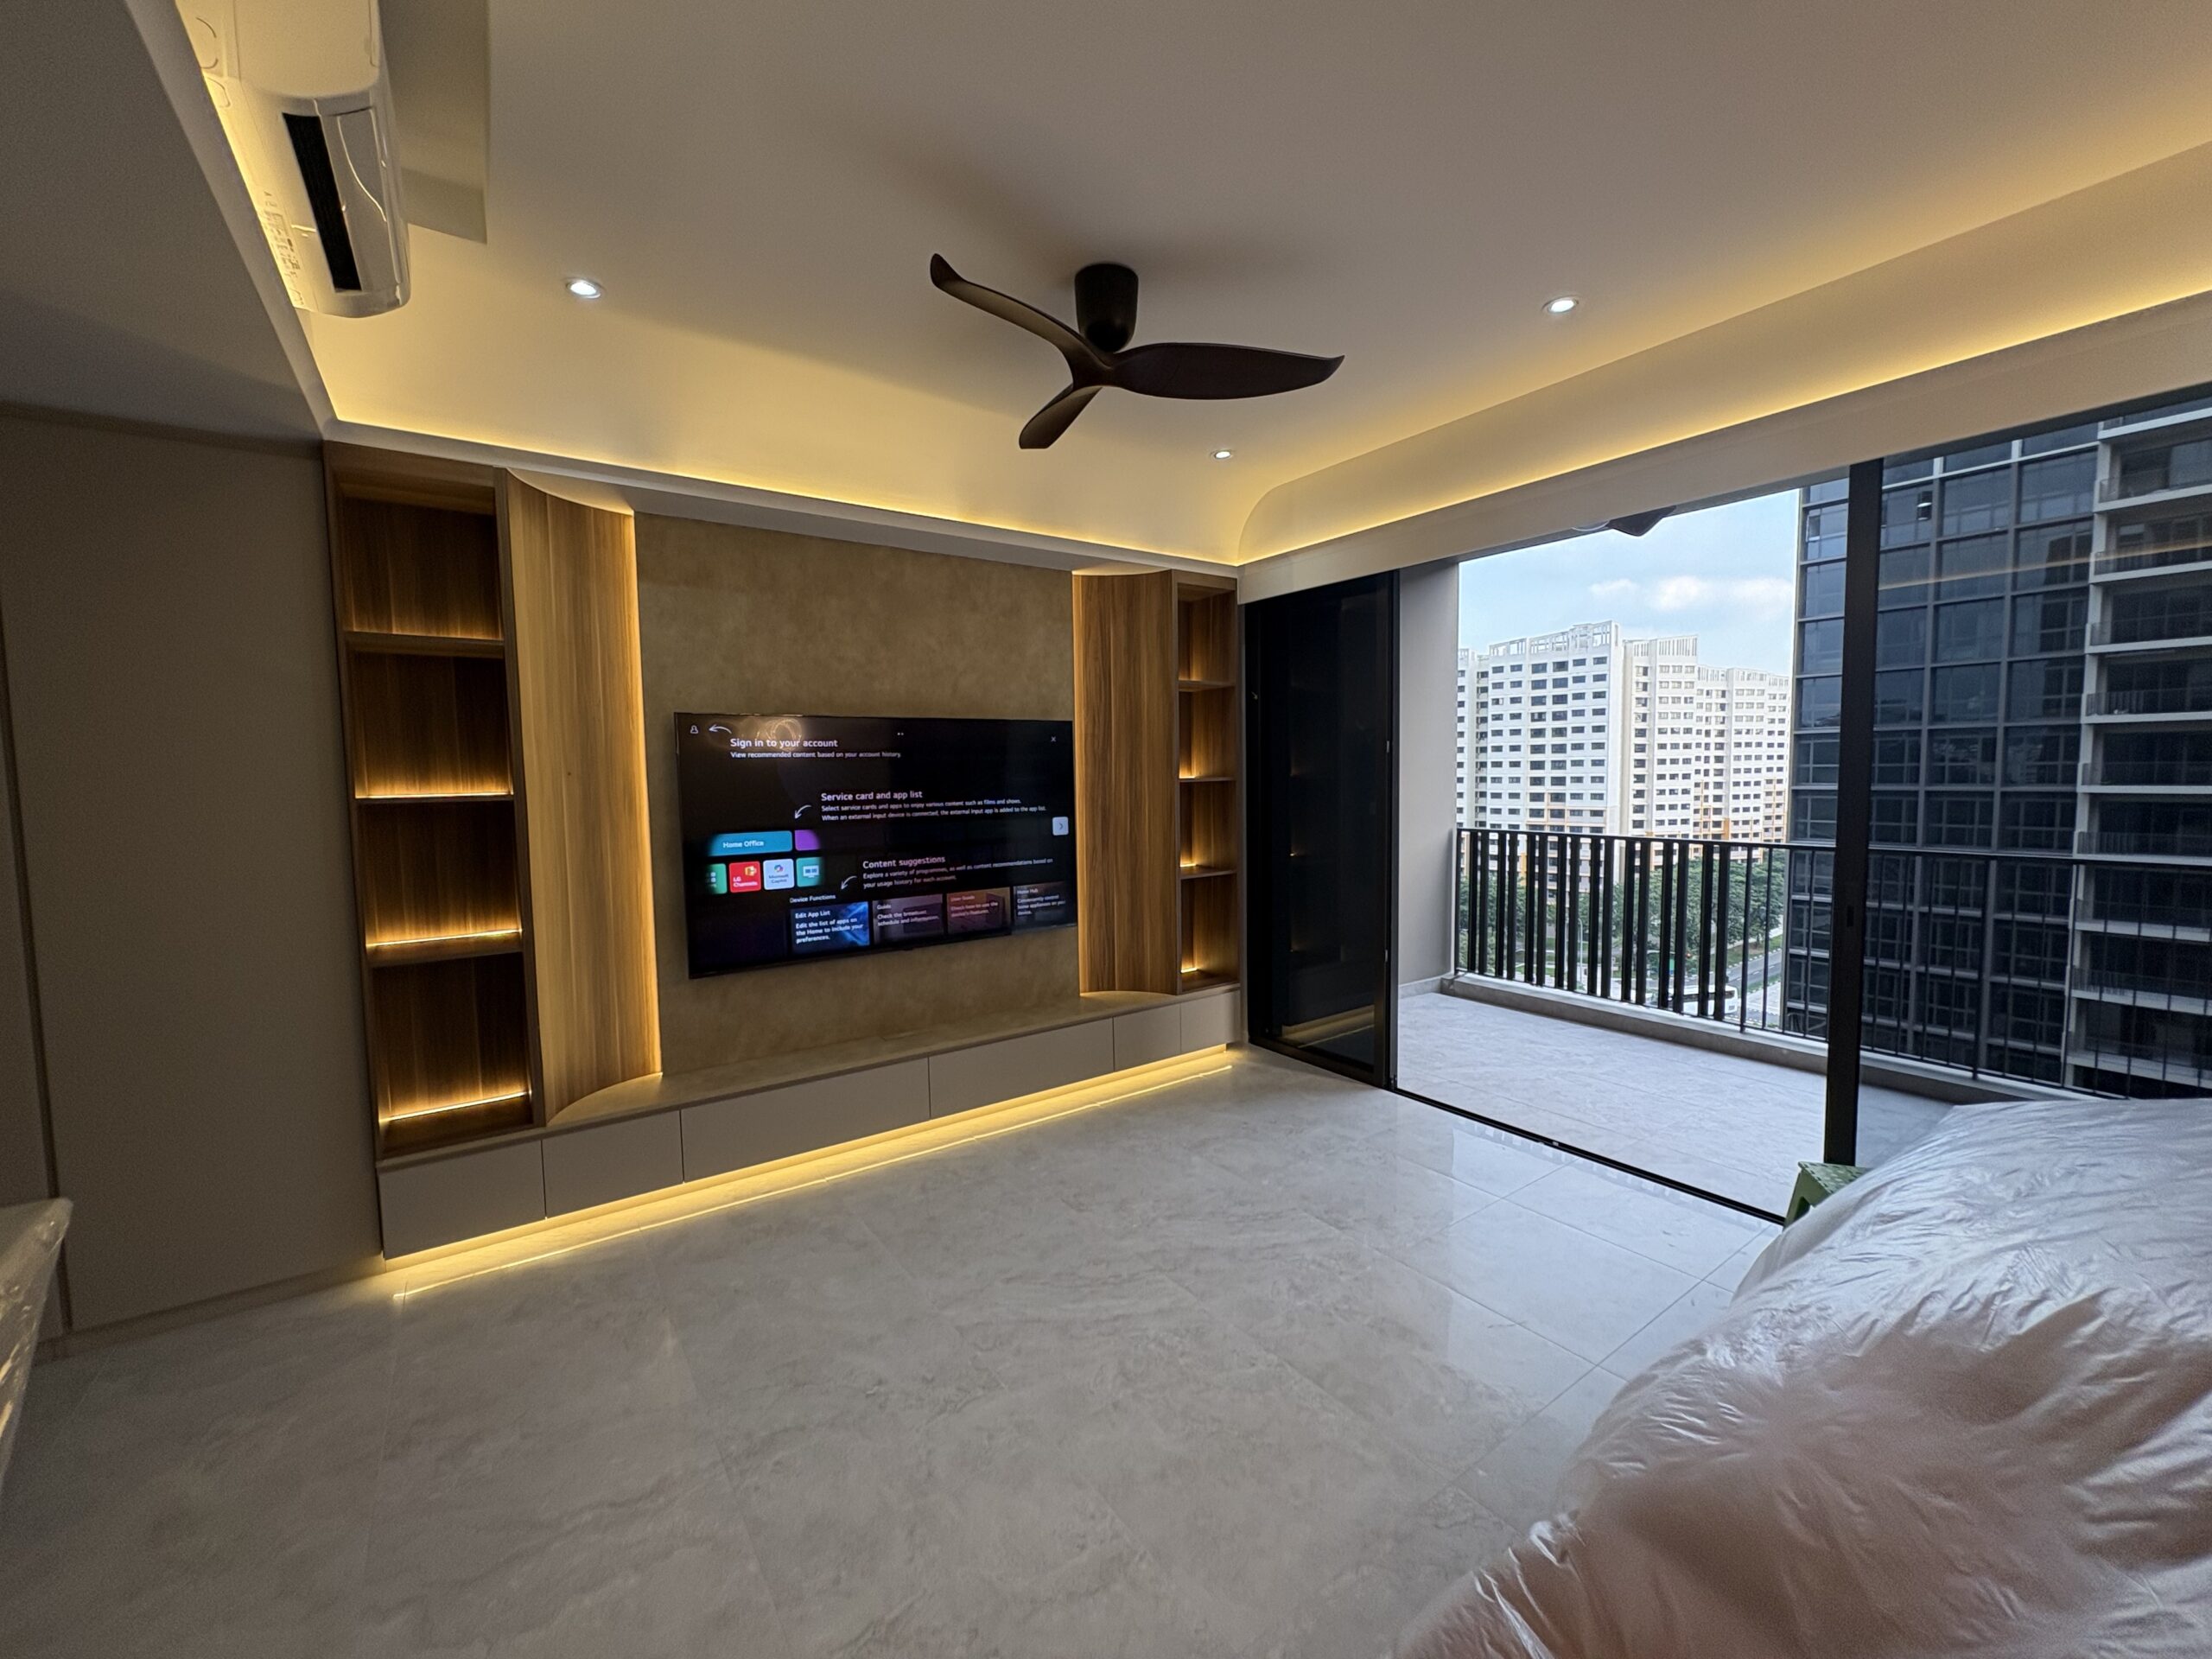
Pro-Tip: The “Perimeter Advantage” for Standard 2.6m HDB Flats
If you are working with a standard 2.6m HDB structural ceiling, a full-surface false ceiling drop can easily make the room feel cramped and heavy. Instead, smart homeowners utilize a perimeter false ceiling or an L-box design.
By boxing up only the outer edges of the room (where the walls meet the ceiling), you leave the absolute center of your living room or bedroom at its maximum structural height.
The Seamless Glow: This layout is the perfect vehicle for indirect ambient lighting. Placing a premium, seamless covelight profile inside the perimeter trough bounces light upward and inward across the central ceiling. Because the light source itself is completely hidden from view, it creates a soft, shadowless illumination that pushes the ceiling away visually, making a compact flat feel significantly taller and more spacious than it actually is.
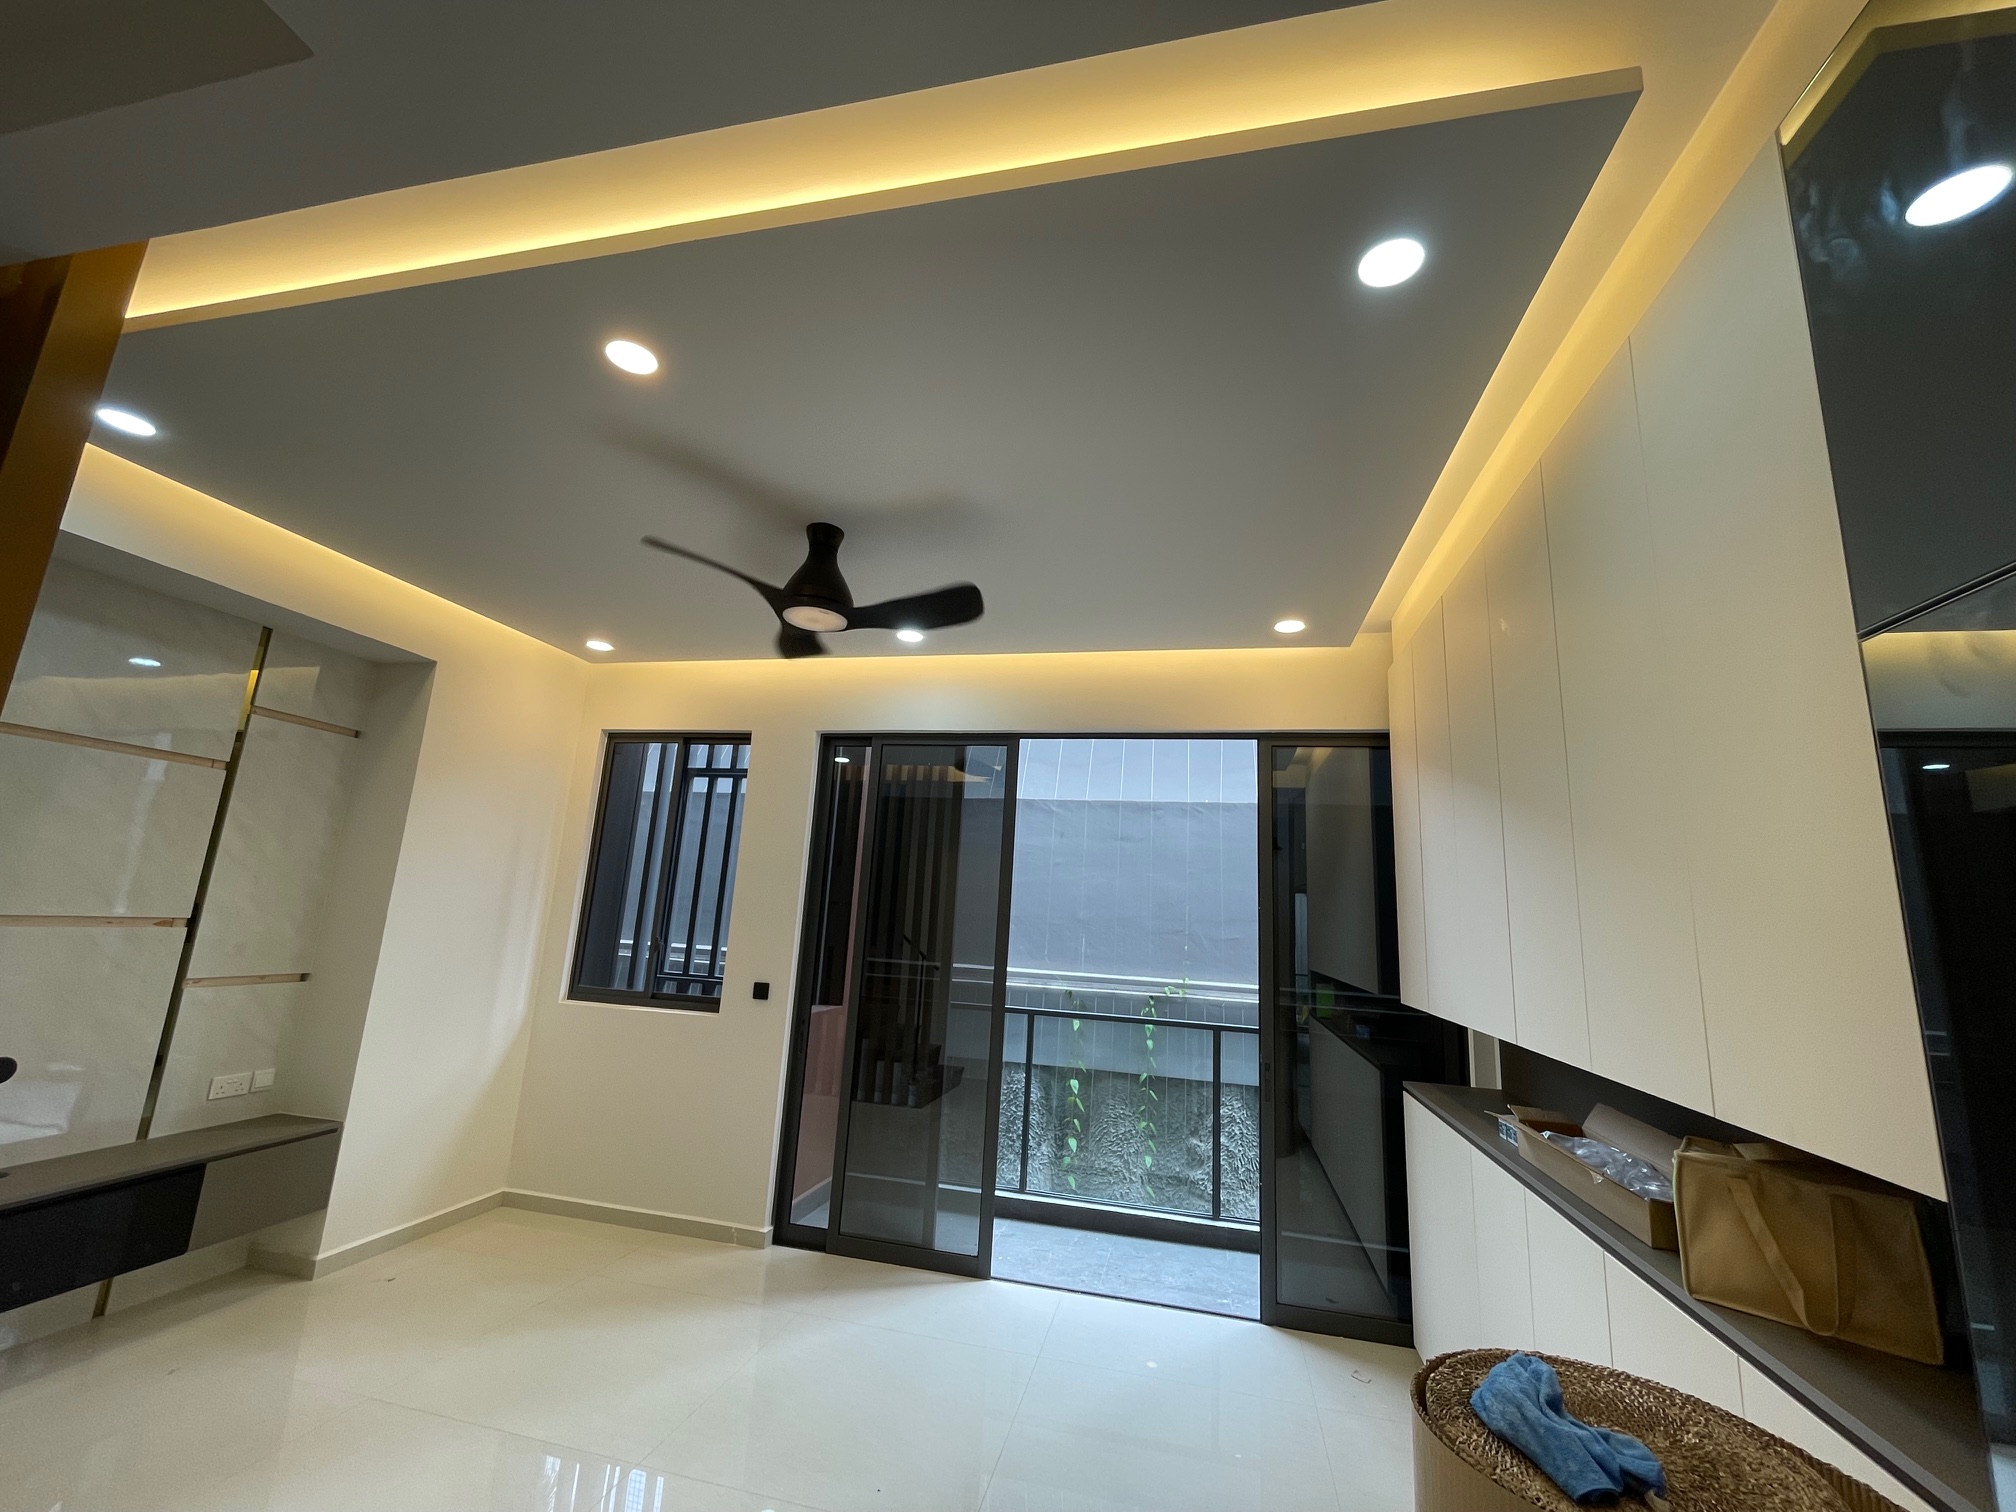
2. Modern Slim Fixtures: Maximizing Your Ceiling Height
If you really love the look of an Island false ceiling or a clean, flat false ceiling, have no fear!
Unlike 15 years ago when a standard false ceiling drop had to be at least 150mm to clear bulky light canisters, technology has completely changed. Today, with the arrival of new ultra-slim versions of downlights and spotlights, we are able to achieve a precise drop at just 100mm.
By taking advantage of these modern, low-profile fixtures, we can drastically minimize the drop depth. This allows us to maximize the overall vertical space and headroom in your home, ensuring your rooms stay bright, open, and airy without compromising on that premium, seamless look.
Pro-Tip: Check the Driver Clearance Before You Buy
While modern LED downlights themselves are incredibly slim (often under 50mm), remember that every light requires an external LED driver (transformer) connected to it.
When sourcing your own lights, always make sure the driver block is also slim enough to slip easily through the cut-out hole and sit comfortably within that 100mm clearance. Opting for fixtures with compact, matching drivers ensures a smooth installation with zero clipping against the concrete structural slab above.

3. Smart Placement of LED Drivers & Maintenance Access
An underrated aspect of false ceiling design is planning for future maintenance. While modern LED strips and downlights can last for years, they all rely on an LED driver (transformer) to convert your home’s electrical current. These drivers have a shorter lifespan than the lights themselves and will eventually need to be replaced.
If your contractor doesn’t plan ahead, replacing a failed driver down the road could mean hacking into your beautiful, newly painted plasterboard.

How to Plan for Smart Maintenance:
The Golden Rule: Never Seal Them Permanently: Ensure your contractor never plasters over or permanently hides an LED driver behind a sealed ceiling. They must always remain accessible.
Consolidate and Group Your Drivers: Instead of scattering drivers randomly across the ceiling space, request that they be grouped together in centralized, strategic locations. Common accessible spots include wardrobe tops, kitchen cabinet voids, or near discrete access panels.
The Invisible Access Panel: If an access panel is required in a prominent area like your living room or hallway, ensure it is cut cleanly and fitted with a flush-mount magnetic hatch. This allows an electrician to service the components instantly while keeping the ceiling looking perfectly seamless when closed.
Pro-Tip: Label Your Wiring Matrix
When grouping your LED drivers together, have your electrician clearly label each driver with a simple marker tag (e.g., “Living Room Covelight,” “Dining Downlights”).
Five or ten years down the road, if one set of lights stops working, any electrician can open the hatch, identify the exact failed driver in three seconds, and swap it out without any guesswork or unnecessary troubleshooting fees.
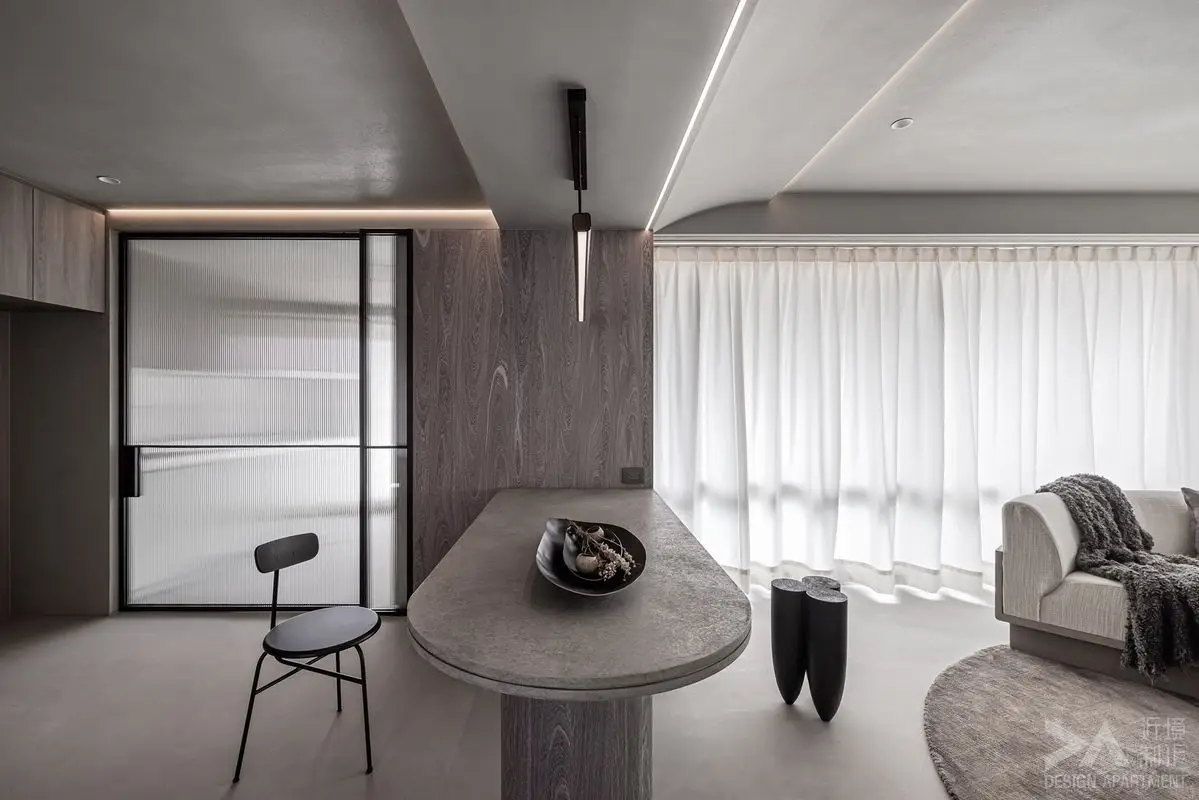
4. Integrating Curtain Pelmets: The Key to Floor-to-Ceiling Luxury
f you are renovating a modern home with sprawling floor-to-ceiling glass windows or large sliding balcony doors, you cannot simply run a flat false ceiling straight up to the glass. To get that premium, high-end look where your curtains appear to glide directly out of the ceiling seamlessly, you must design a dedicated curtain pelmet (also known as a curtain pocket or box-up).
Failing to coordinate this structural element early means your curtain tracks will be exposed, or worse, your bulky drapes will rub tightly against your false ceiling, making them difficult to open and close.

Master the Mechanics of a Perfect Curtain Pelmet:
Calculating the Pelmet Width: Getting the pocket dimensions right is crucial for a smooth glide. For standard double-track curtains, a 150mm width is generally sufficient. However, if you are opting for premium, modern S-Fold (Ripple Fold) curtains, you must design a much deeper pocket of 250mm to 300mm to allow the elegant, wave-like fabric folds to stack comfortably without crushing against the wall.
Accounting for Window Handle Clearance: Don’t just measure from the wall; look at your window handles or lock mechanisms. Your curtain pelmet must extend far enough outward so that when the heavy fabric is drawn shut, it clears the protruding handles smoothly without creating awkward, unsightly bulges in your drapes.
Pro-Tip: Smart Automated Blinds Require Pre-Wiring
Motorized, smart-home curtains and automated roller blinds are incredibly popular today, but they require power. The absolute best time to prepare for them is during the false ceiling carcass stage.
Have your contractor lay a dedicated electrical point (fused spur) directly inside the hidden curtain pelmet void before the plasterboard goes up. This allows the curtain specialist to plug in the motorized tracks effortlessly, keeping all wiring 100% invisible and tucked away inside the ceiling cavity.
5. Heavy-Duty Structural Anchoring for Ceiling Fans & Pendants
A false ceiling is structurally designed to carry its own weight and lightweight light fixtures. Plasterboard and calcium silicate boards are strictly decorative—they have practically zero load-bearing capacity for heavy, moving, or vibrating objects.
If you plan to install a ceiling fan or a heavy designer crystal chandelier, proper planning during the framing stage is non-negotiable for your family’s safety.

How to Prepare for Heavy Ceiling Loads Safely:
The Concrete Anchor Rule: A ceiling fan or heavy pendant light must never be secured directly to the plasterboard ceiling. Instead, a dedicated reinforcement metal bracket or a solid timber block must be installed behind the scenes, anchored directly into the concrete structural slab above.
Managing Vibration and Wobble: Ceiling fans generate constant dynamic movement and minor vibrations when running at high speeds. If the internal support structure isn’t perfectly rigid and anchored to the concrete, those micro-vibrations will transfer to the plasterboard, leading to visible wobbling, unsightly ceiling joint cracks, or structural failure over time.
Coordinating Electrical Placement: Ensure your electrical wiring matrix is pulled and mapped out to the exact spot of the structural bracket before the ceiling is sealed. Trying to fish a heavy-gauge wire to a precise structural point after the plasterboard is up can easily damage the internal metal framing.
Pro-Tip: Keep a Photo Record Before the Ceiling Closes
Once the false ceiling is boarded up, plastered, and painted off-white, it is impossible to see where the internal heavy-duty support brackets are hidden.
Before your contractor seals the ceiling carcass, snap a few clear photos of the exposed framing and support brackets next to an easily identifiable landmark (like a window frame or a specific wall corner). When your ceiling fan or chandelier installer comes down to fix the fixtures after the renovation, you can show them exactly where the solid structural anchoring points are hidden without any dangerous guesswork.
Conclusion: Getting it Right the First Time
Installing a false ceiling is a fantastic investment that can completely transform the atmosphere of your home, but as you can see, the beauty of the final result relies entirely on precise, hidden technical planning. From calculating the perfect 100mm drop to mapping out wide S-fold curtain pelmets and solid concrete anchoring, every detail matters.
Hacking or modifying a completed ceiling after the fact is disruptive and incredibly expensive. By choosing an experienced, registered contractor who uses advanced precision tools like laser leveling and plans for future electrical maintenance from day one, you ensure your home looks stunning, stays safe, and remains hassle-free for years to come.
Looking for flawless ceiling and electrical works for your home?
Don’t leave your renovation to guesswork. Whether you are collecting the keys to your new BTO flat or planning a luxury condo makeover, we specialize in high-precision false ceilings, premium seamless covelights, and safe, compliant electrical wiring.
Get in Touch
We’d love to hear from you! Whether you have questions about our services or need assistance with your project, reach out to us anytime.
Call
(65) 8877 8643
contact@theparamount.com.sg